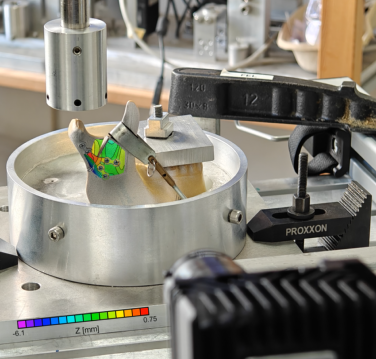
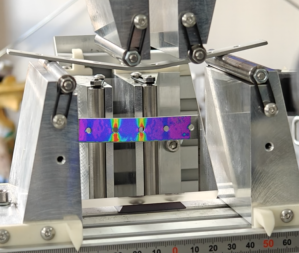
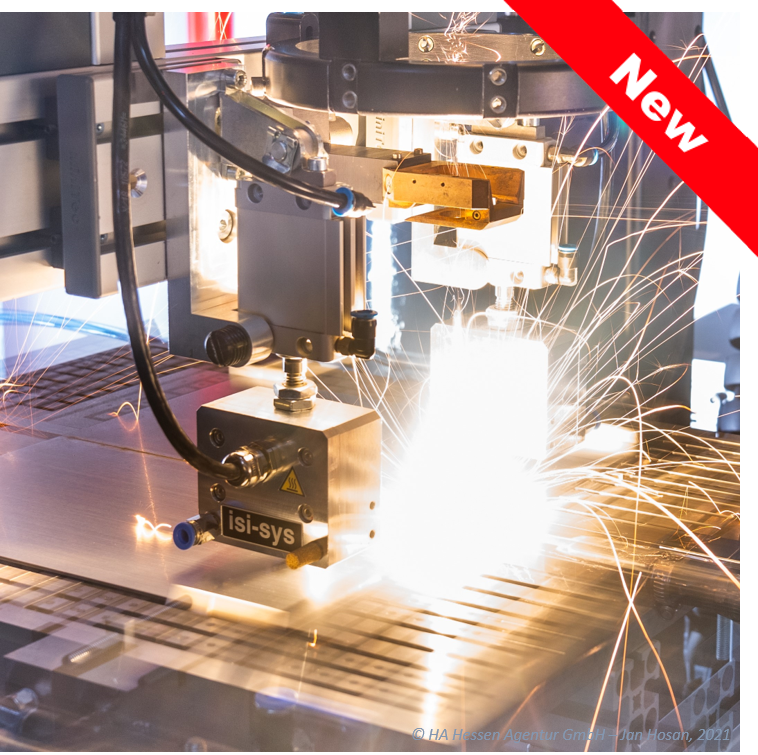
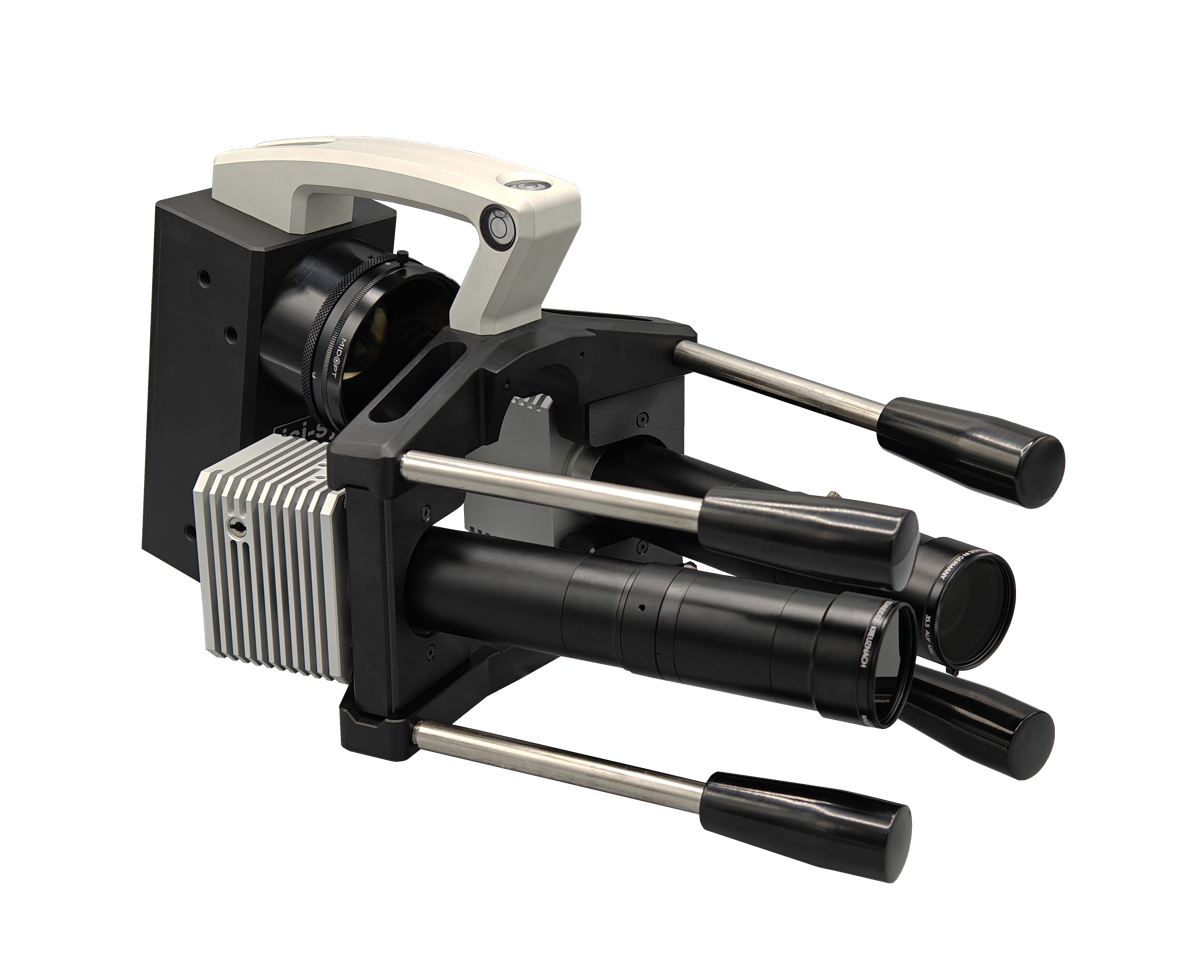
Vic-2D can measure in-plane displacements and strains on planar specimens. The setup is simple, for sample preparation only the application of a random speckly pattern is nessesary. No special illumination or lasers are required.
We offer complete measurement systems for a wide range of full-field in-plane deformation measurement tasks.
- White-light system
- No calibration required
- real-time data processing (> 50Hz)
- Sample size <1mm and >10m possible
- Simple specimen preparation using paint
- Synchronized load data acquisition
- Available analog output for machine control
- Very high strain and displacement limits
We also provide components as well as custom measurement systems for demanding applications including high temperature, higher speeds, and very small- or large-scale samples.
Application
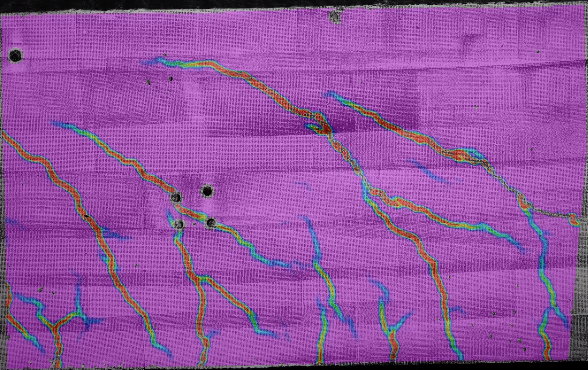
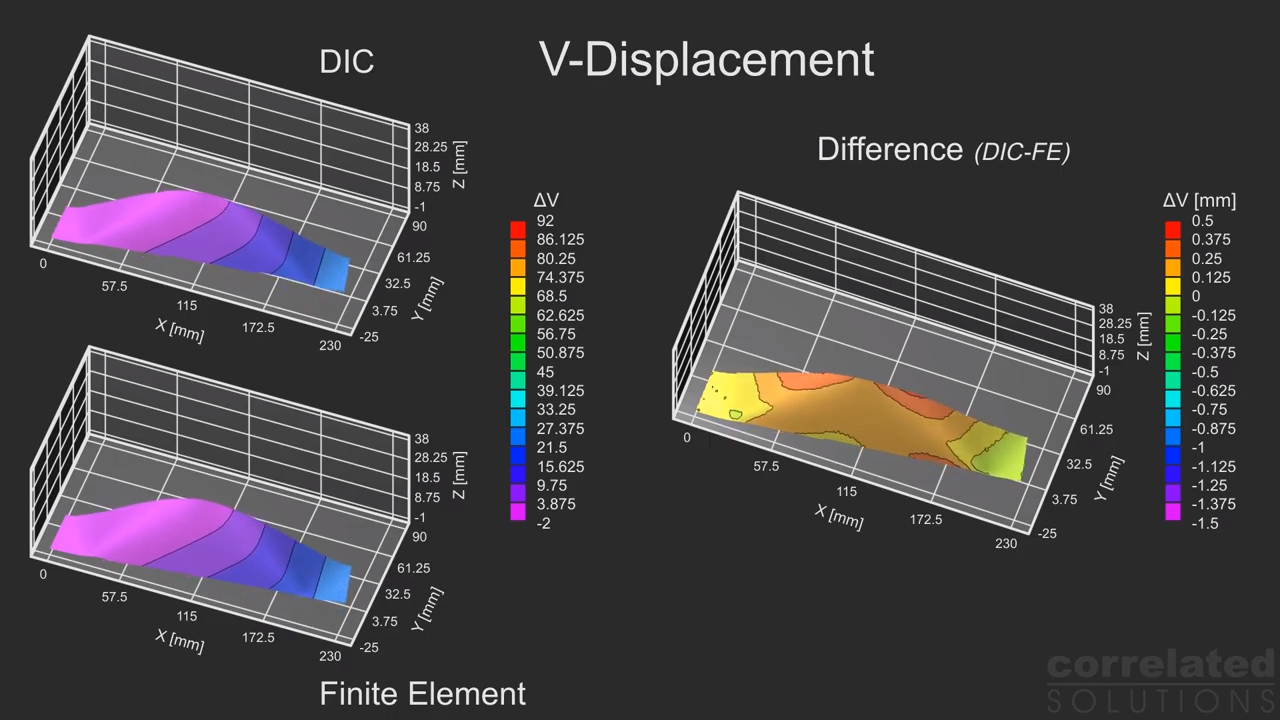
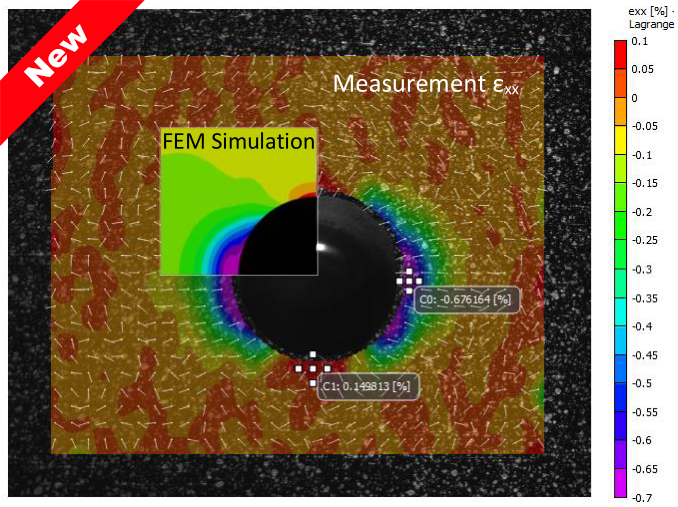
The Vic-2D system is used where strain distributions need to be measured on flat specimens. Applications include fracture mechanics (COD measurement), bi-axial tension tests of films, determination of strain localization around cracks or notches as well as many applications in FE model verification.
Application example
Strain Measurement — 2D Fatigue Test


