Shearography / ESPI Systems
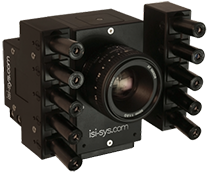
Shearography and electronic speckle patter interferometry (ESPI) are laser based, optical measurement methods, working full field and non contact.
The Shearography systems are applied for non destructive testing, but also for vibration, deformation and strain measurement. The resolution of the differential deformation is a fraction of the wave length only und thus in the nanometer range and below. The laser wave length is the reference scale, so the resolution is independent of the field of view. The field of view is in the range of mm² to m². The preparation of the object in only required for surfaces, which are optically non cooperative
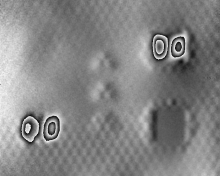
Application: Non Destructive Testing
The main field of application of the Shearography systems of isi-sys is non destructive testing (NDT).
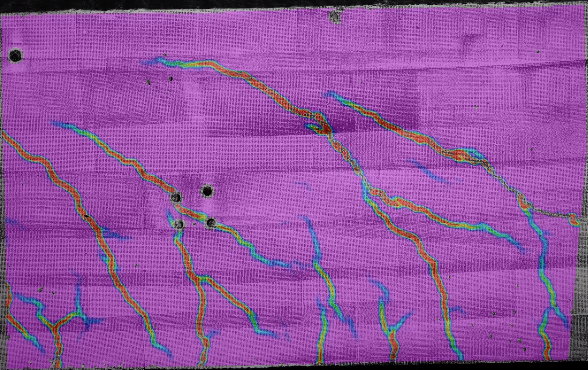
The full field differential deformation measurement of shearography enables to locate especially structurally and mechanically relevant defects such as delamination’s, cracks or void due to local inhomogeneous deformation and strain distribution, when an external load is applied.
In the practical application, this can be a thermal load via light sources or hot air guns, dynamical load via Piezoshakers or mechanical loading steps such as change of the internal pressure of tubes and tanks or vacuum loading by vacuum chambers or vacuum hoods.
DIC (Digital Image Correlation)
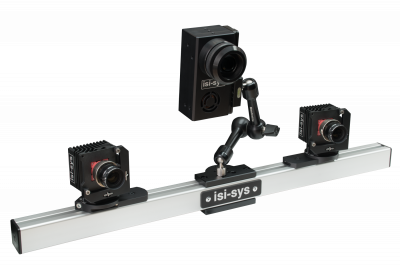
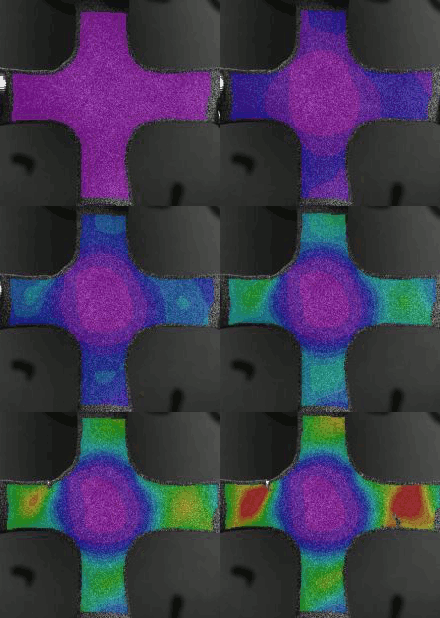
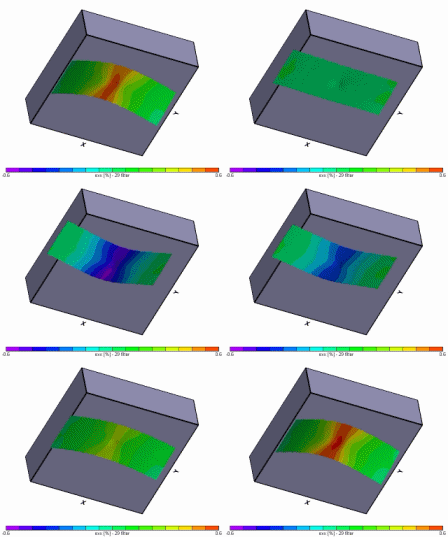
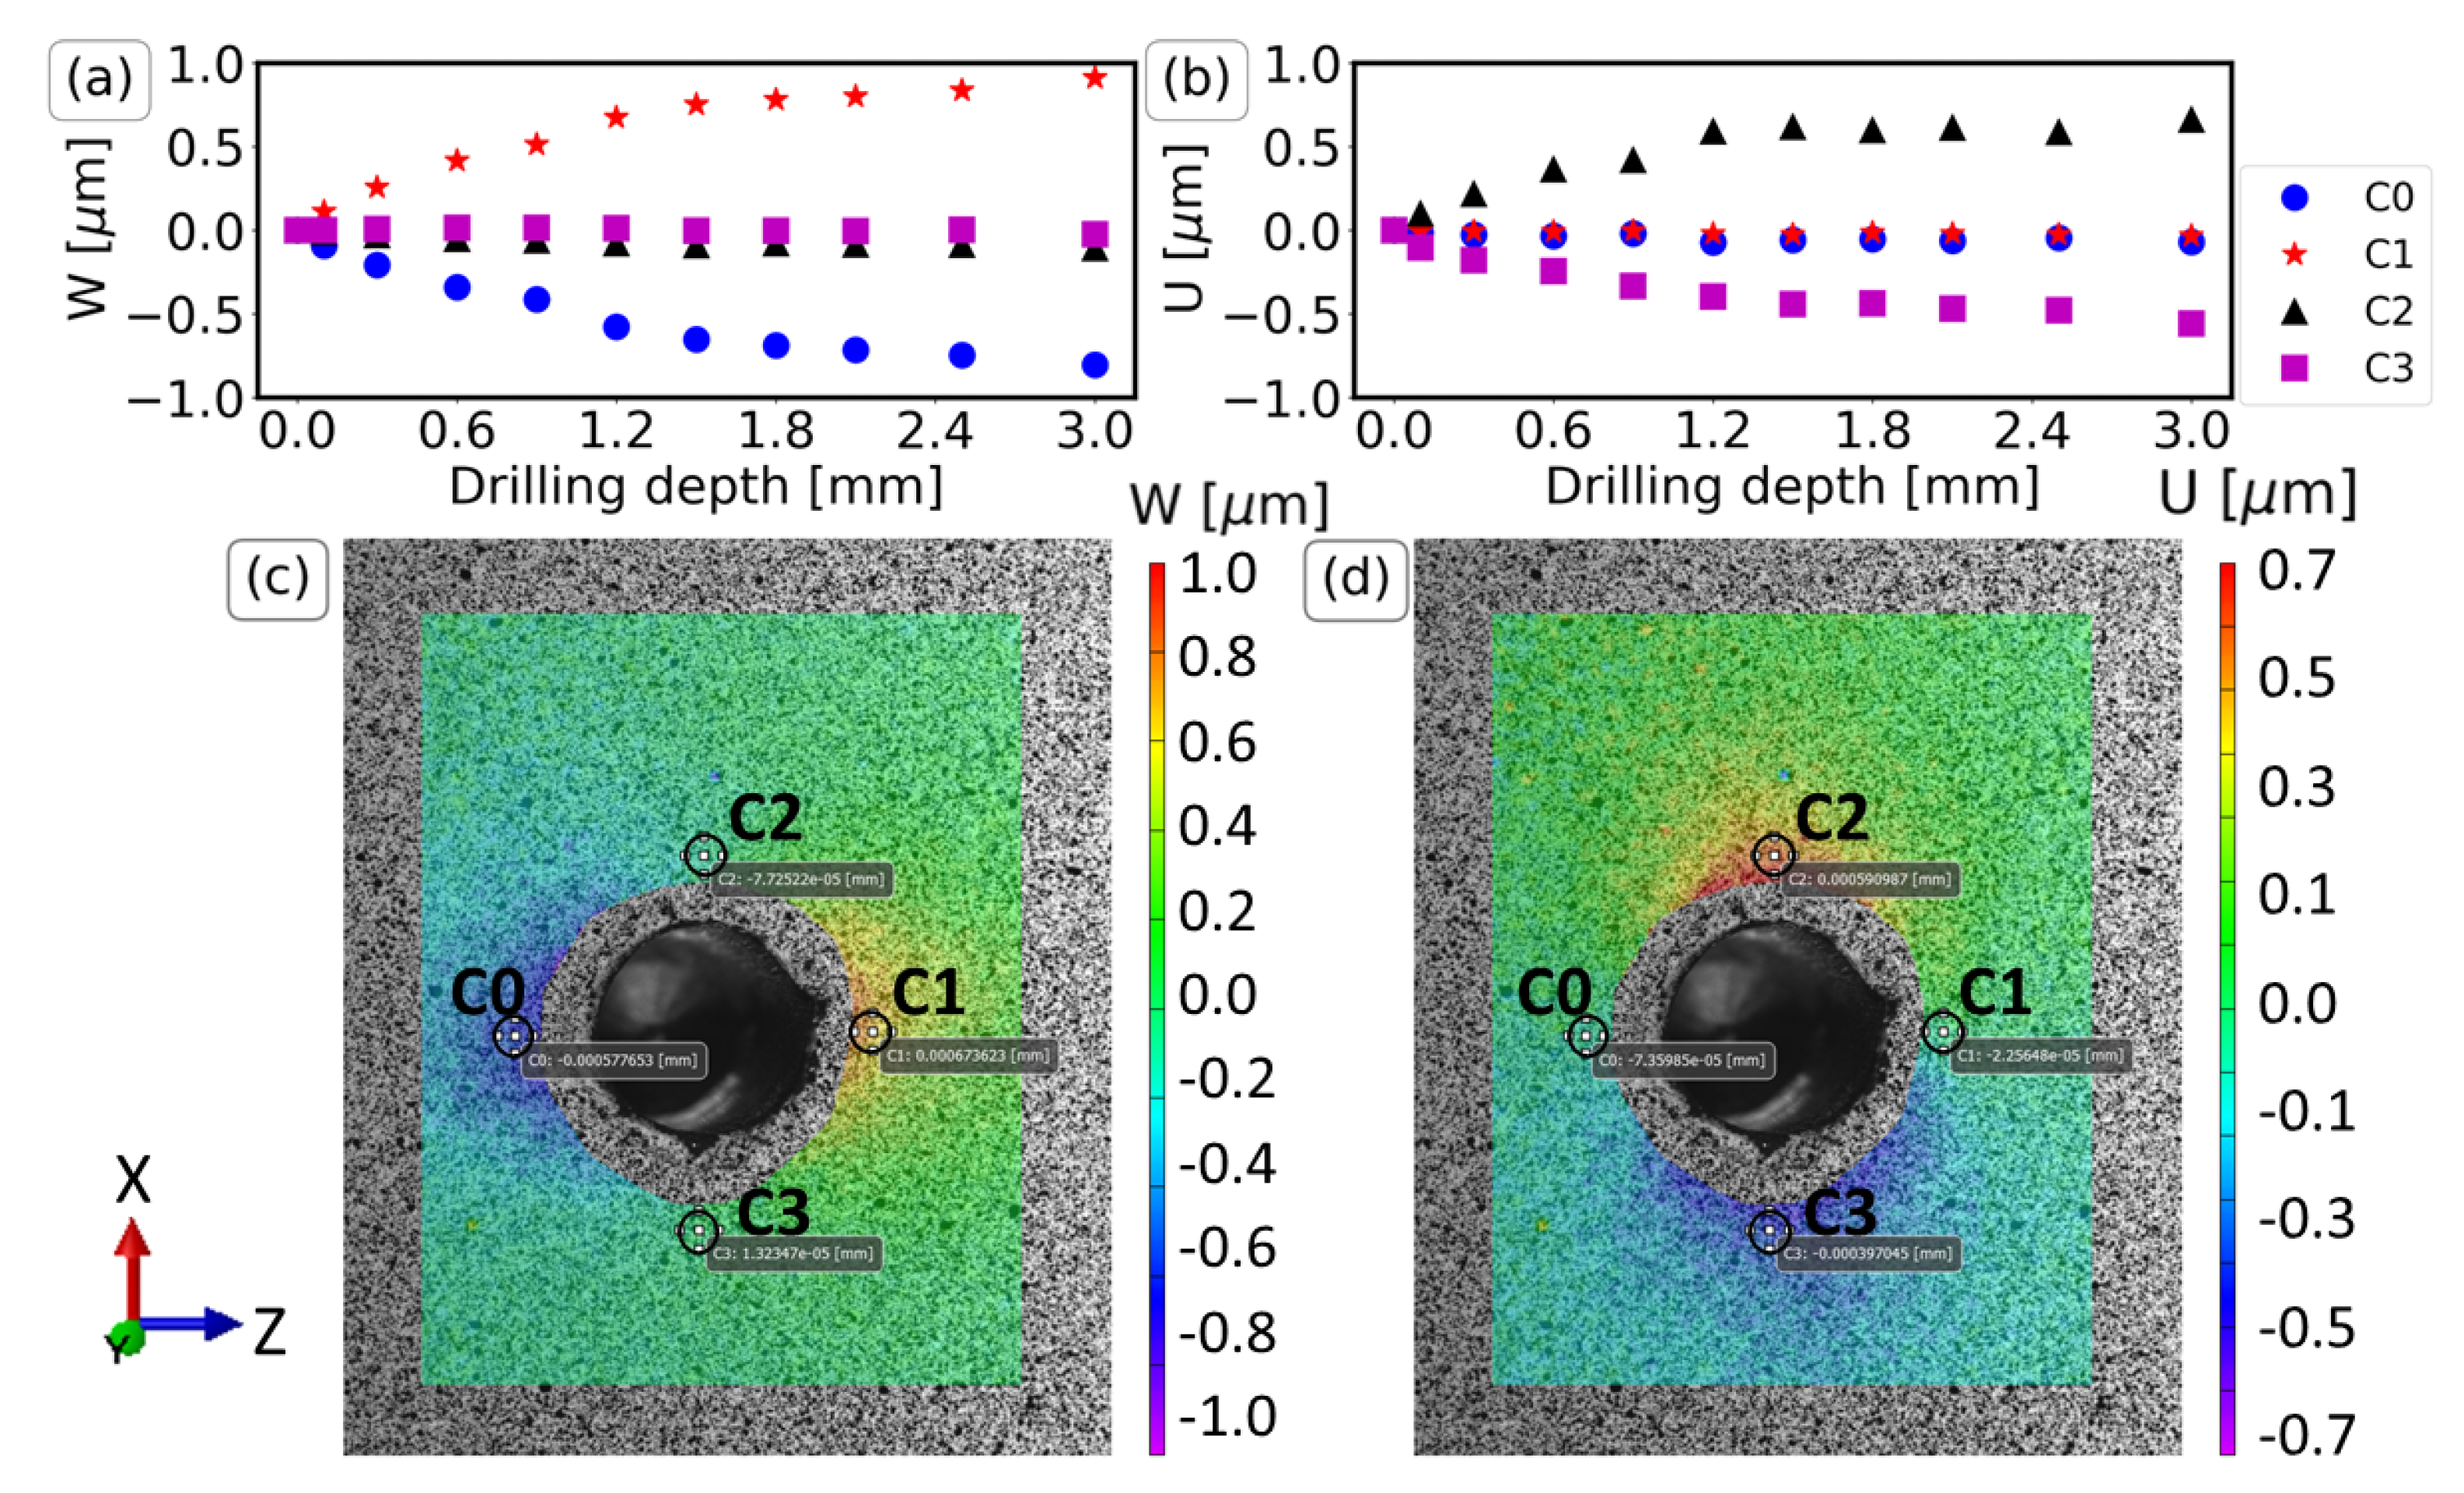
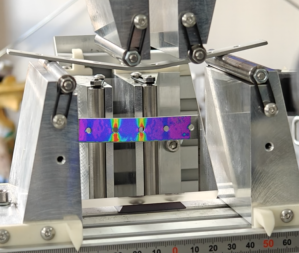
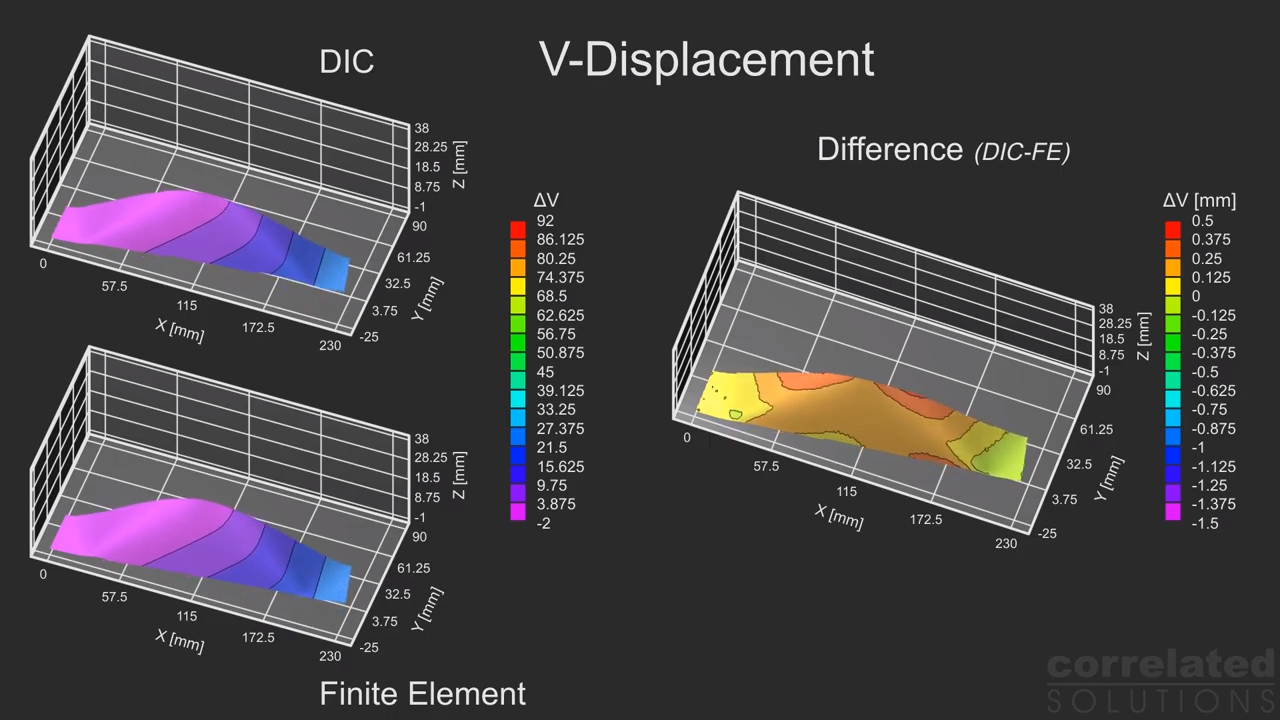
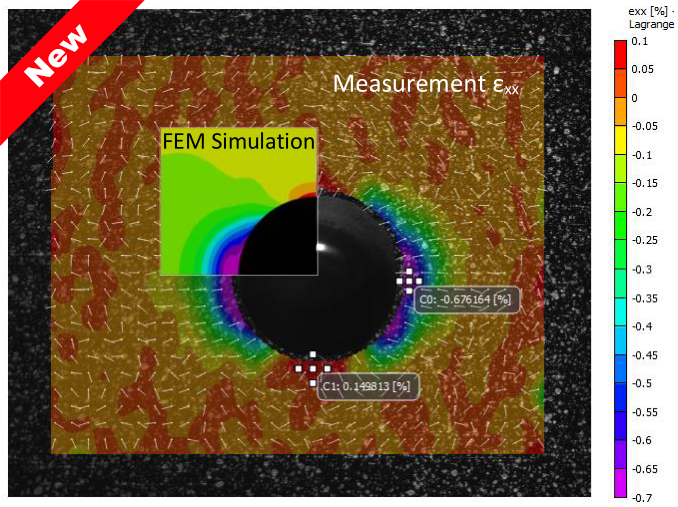
Digital image correlation is applied in solid mechanics, material research and development of mechanically loaded materials, components and structures. DIC contributes here especially due to the non contact and full field measurement of deformation and displacements and the derived quantities such as strain, vibration, motion and velocities for analysis of the mechanical properties. The results are use for validation of simulations.
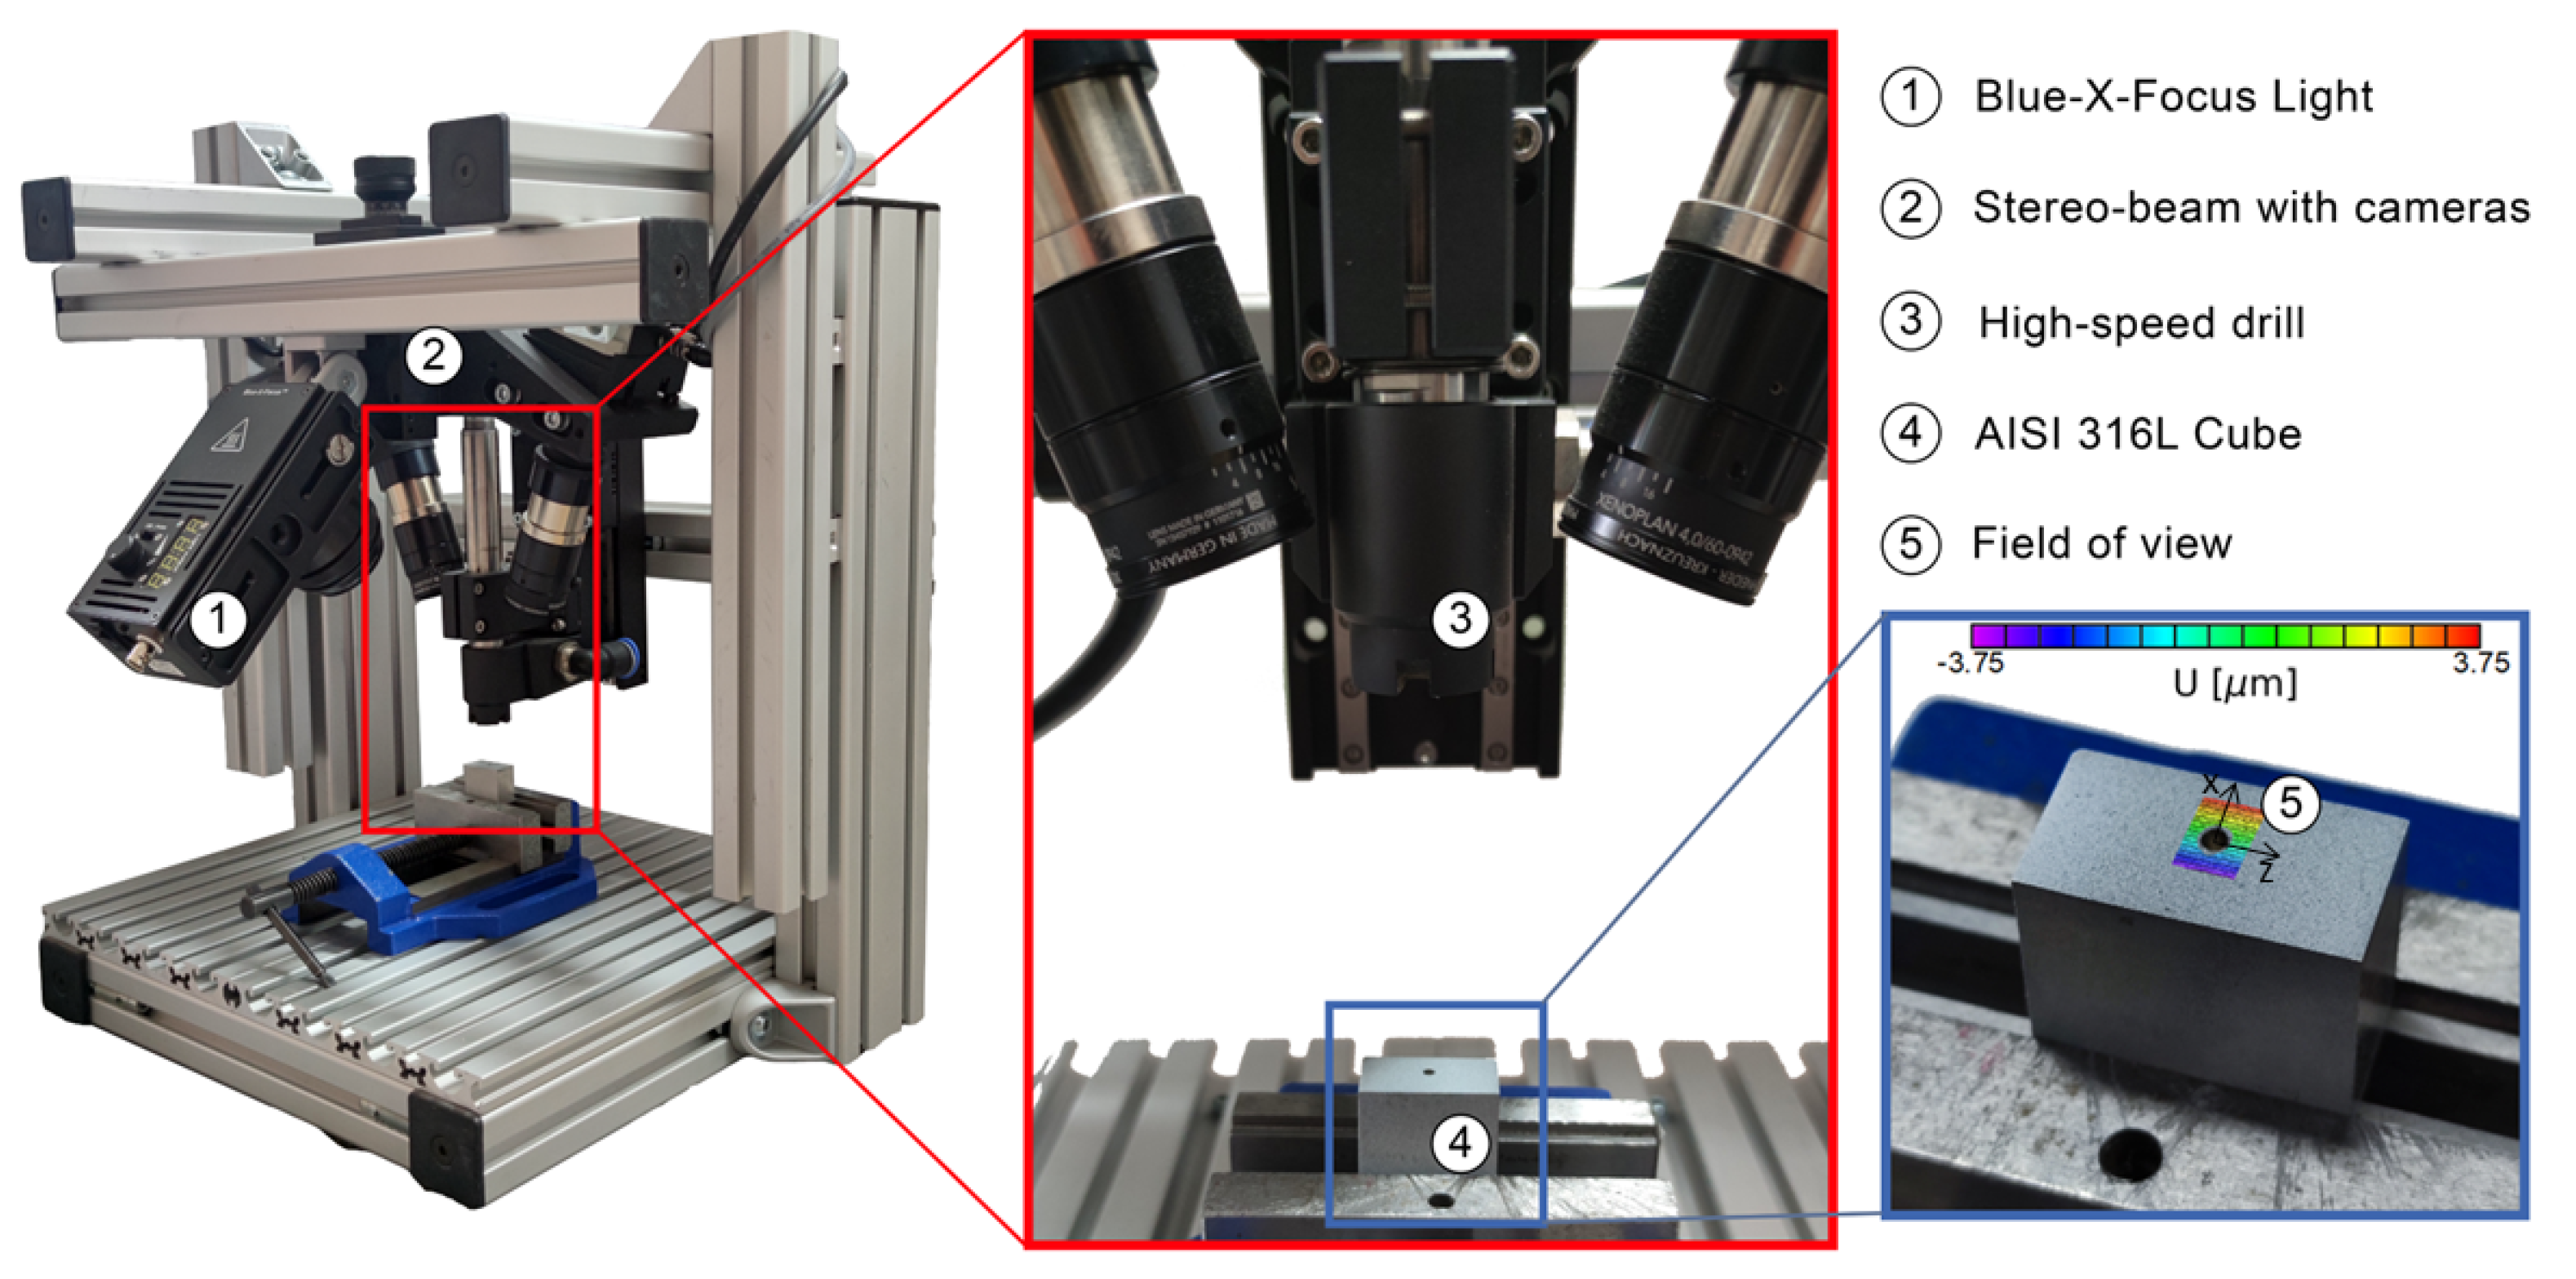
The measurement results originate from the surface of the object itself usually by stereo camera systems and evaluated with VIC 2D/VIC 3D software, but also within the solid by computer tomography systems (CT´s) and VIC Volume. isi-sys is system integrator for VIC software in Europe and close development partner of Correlated Solutions, USA.
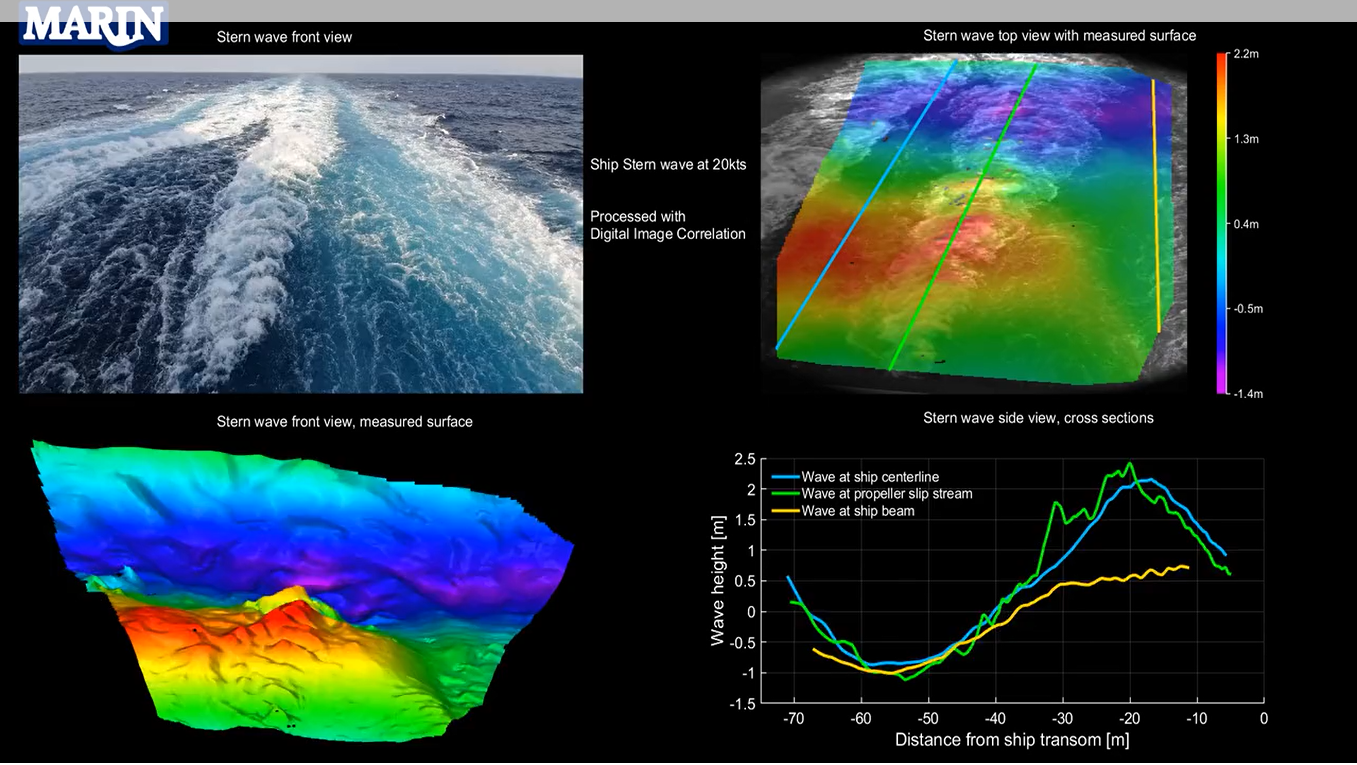
The resolution of the deformation and strain as well as its spatial and time resolution is depending on the system configuration. DIC system of isi-sys reach nanometer sensitivity as well as time resolution in nanosecond range. They have been applied on field of view below one mm² und above 100m², such as on rotating wind turbine blade with a diameter of 114m.
Application Range of DIC for Strain and Deformation Measurement
DIC is applied for static and dynamic three dimensional strain and deformation measurement in the range of from 0,001% up to 1000% and above as well as for fatigue testing and monitoring. Using high resolution cameras with linear and low noise sensor properties a high spatial resolution can be achieved, too. Time resolution is actually possible up to 5 million frames per second.
DIC enabled a measurement, which have not been possible with conventional methods such as at high temperatures, at high strains or on small field of view with high spatial resolution. In a number of cases DIC has replaced conventional methods such as strain gauges or extensometers – especially in the area lf development and research due to the full field and non contact working principle.
Due to its advantages and due to the improved cameras and increasing computation power the digital image correlation systems have driven conventional optical methods for strain and deformation such as Photoelasticity and Electronic Speckle Pattern Interferometry out of the market to a wide extend.
Video Stroboscope
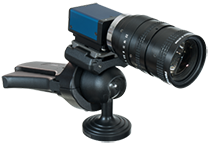
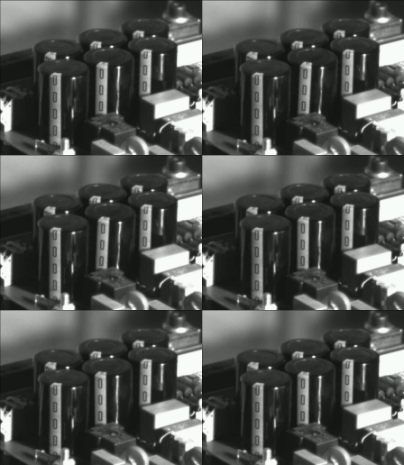
Used for simple visualization, monitoring and recording of vibrations and rotations in slow-motion. For quantitative evaluation in subpixel range, it can be extended with image correlation (see above).
Application: Vibration Analysis
The combination of Video Stroboscopes or High Speed Cameras with digital image correlation (see above) is used for vibration measurements applying the phase resonance or phase separation method. The VIC-FFT modules enables to analyse operation deflection modes full field and 3D based.
Piezoshaker Systems
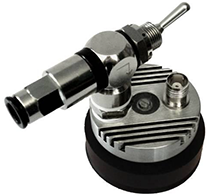
Designed for vibration excitation in the range from 1–100kHz especially for non destructive testing and vibration analysis. The piezoshaker excitation systems include special light weight high power piezo amplifiers for mobile application in NDT with shearography and thermography.
Application: Non Destructive Testing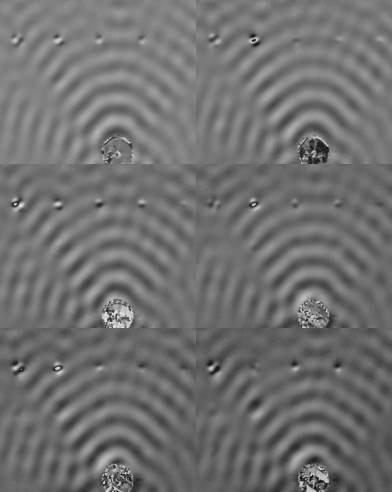
The video on the right shows the lamb waves, generated by the piezoshaker, that is attached at the bottom of the specimen. The waves travel across the object surface and excite the five local subsurface defects on the top. The local defects vibrate differently, depending on their local mechanical properties (stiffness).

