ReSA system based on 3D-Micro-DIC stereo sensor for residual stress analysis

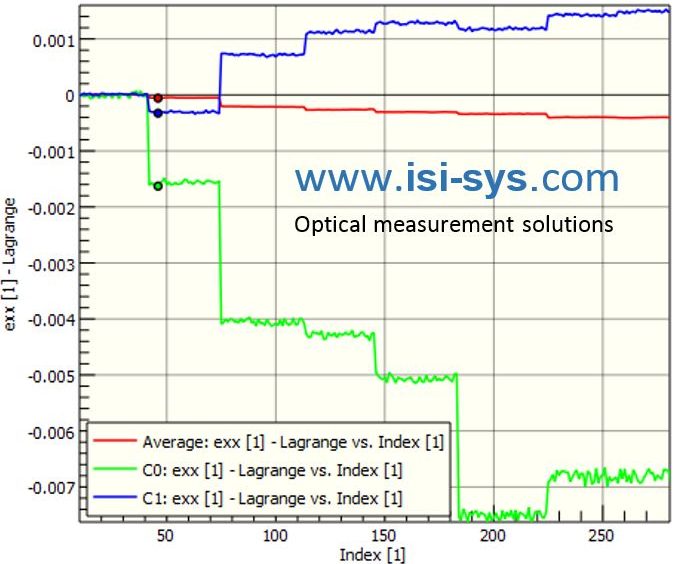
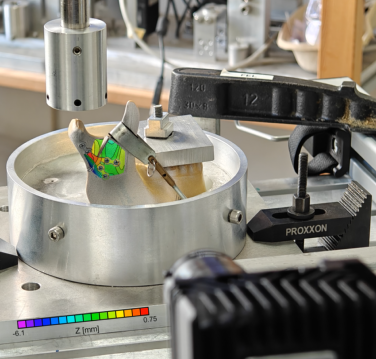
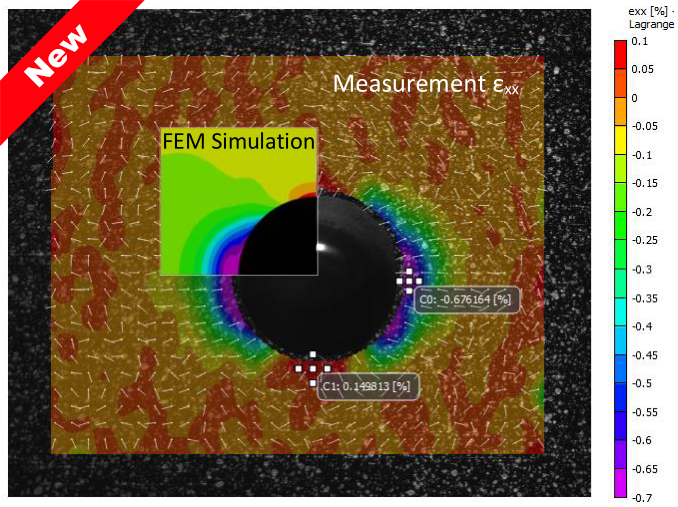
The hole drilling method in combination with strain gauges is an established method for residual stress analysis in metal materials. In contrast a full-field and non-contact measurement using VIC-3D is especially advantageous in order to quantify the non-homogeneous residual strains and stresses within composite structures. The example above shows the strain measurement εxx of a carbon composite at different drilling depths. The right image is superposed with an FEM model of a quarter section. isi-sys offers a turn-key solution for residual stress analysis according to the hole drilling method in combination with a special version of the 3D Micro DIC stereo sensor.
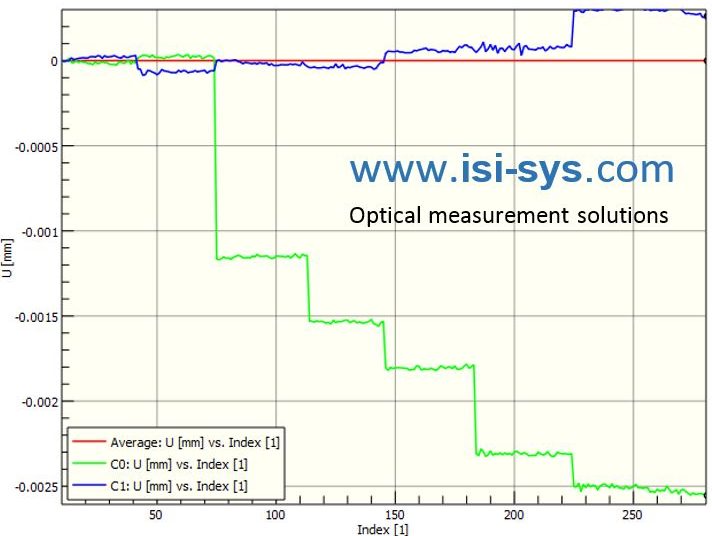
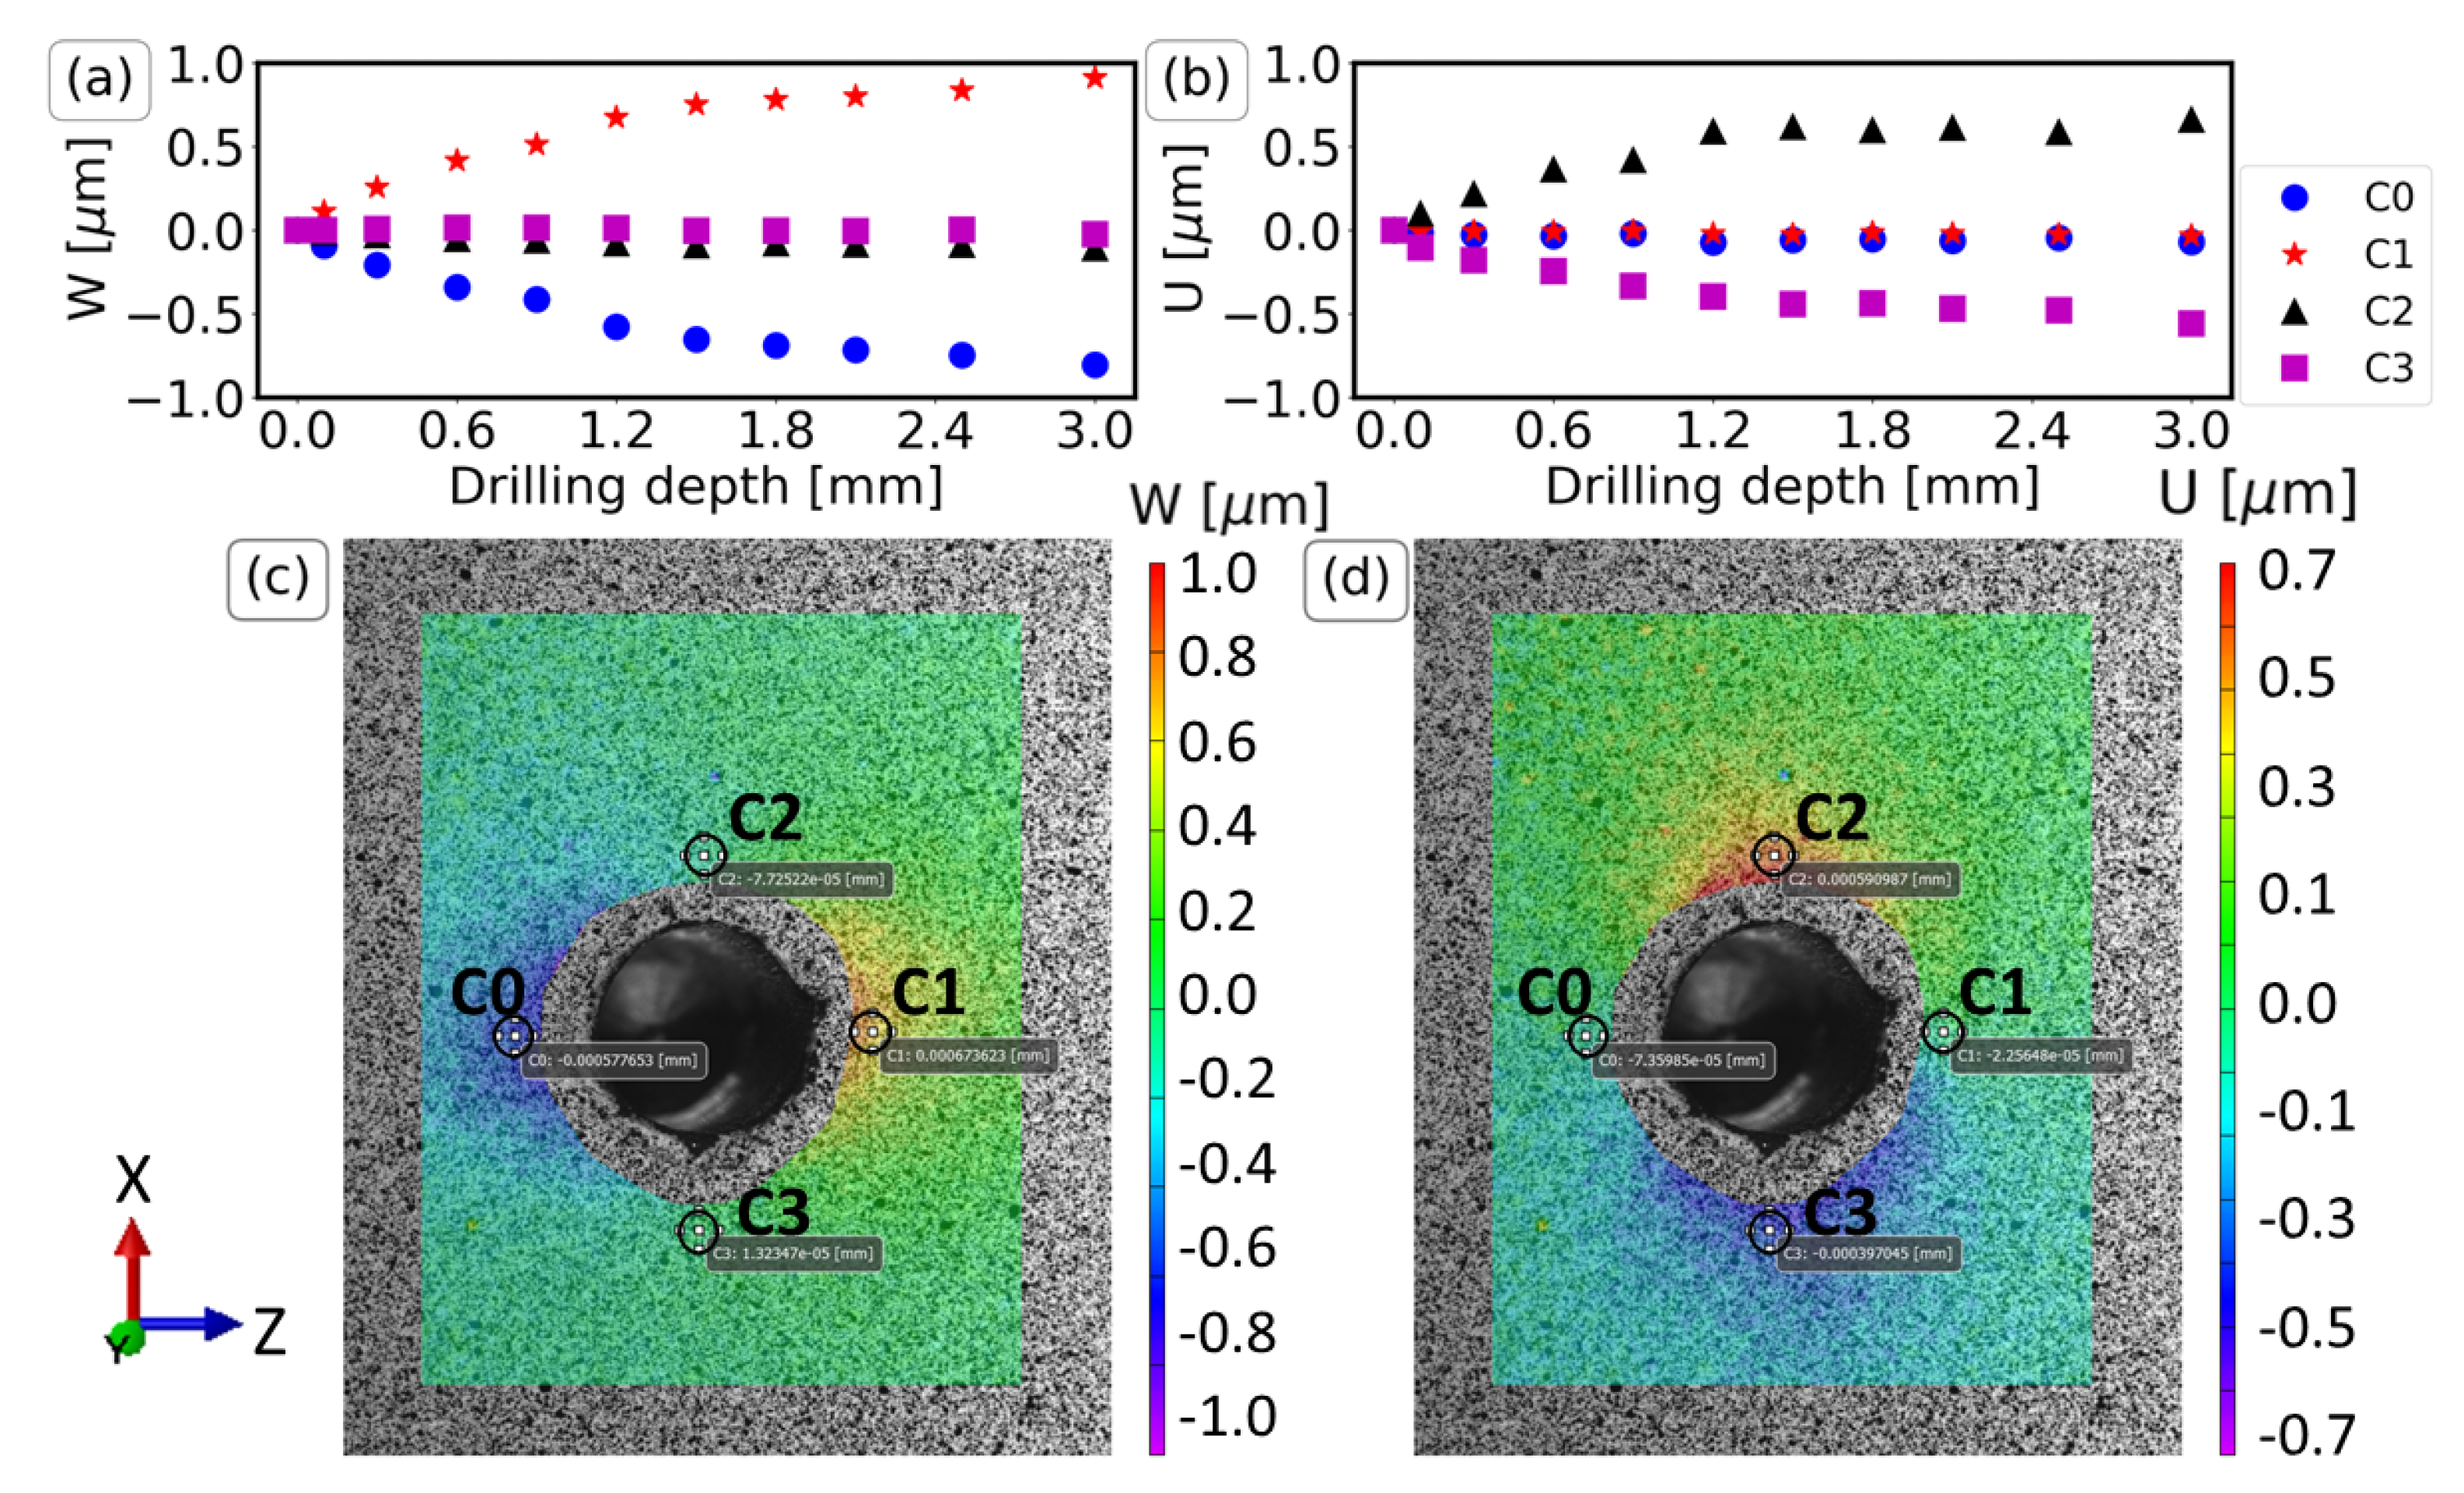
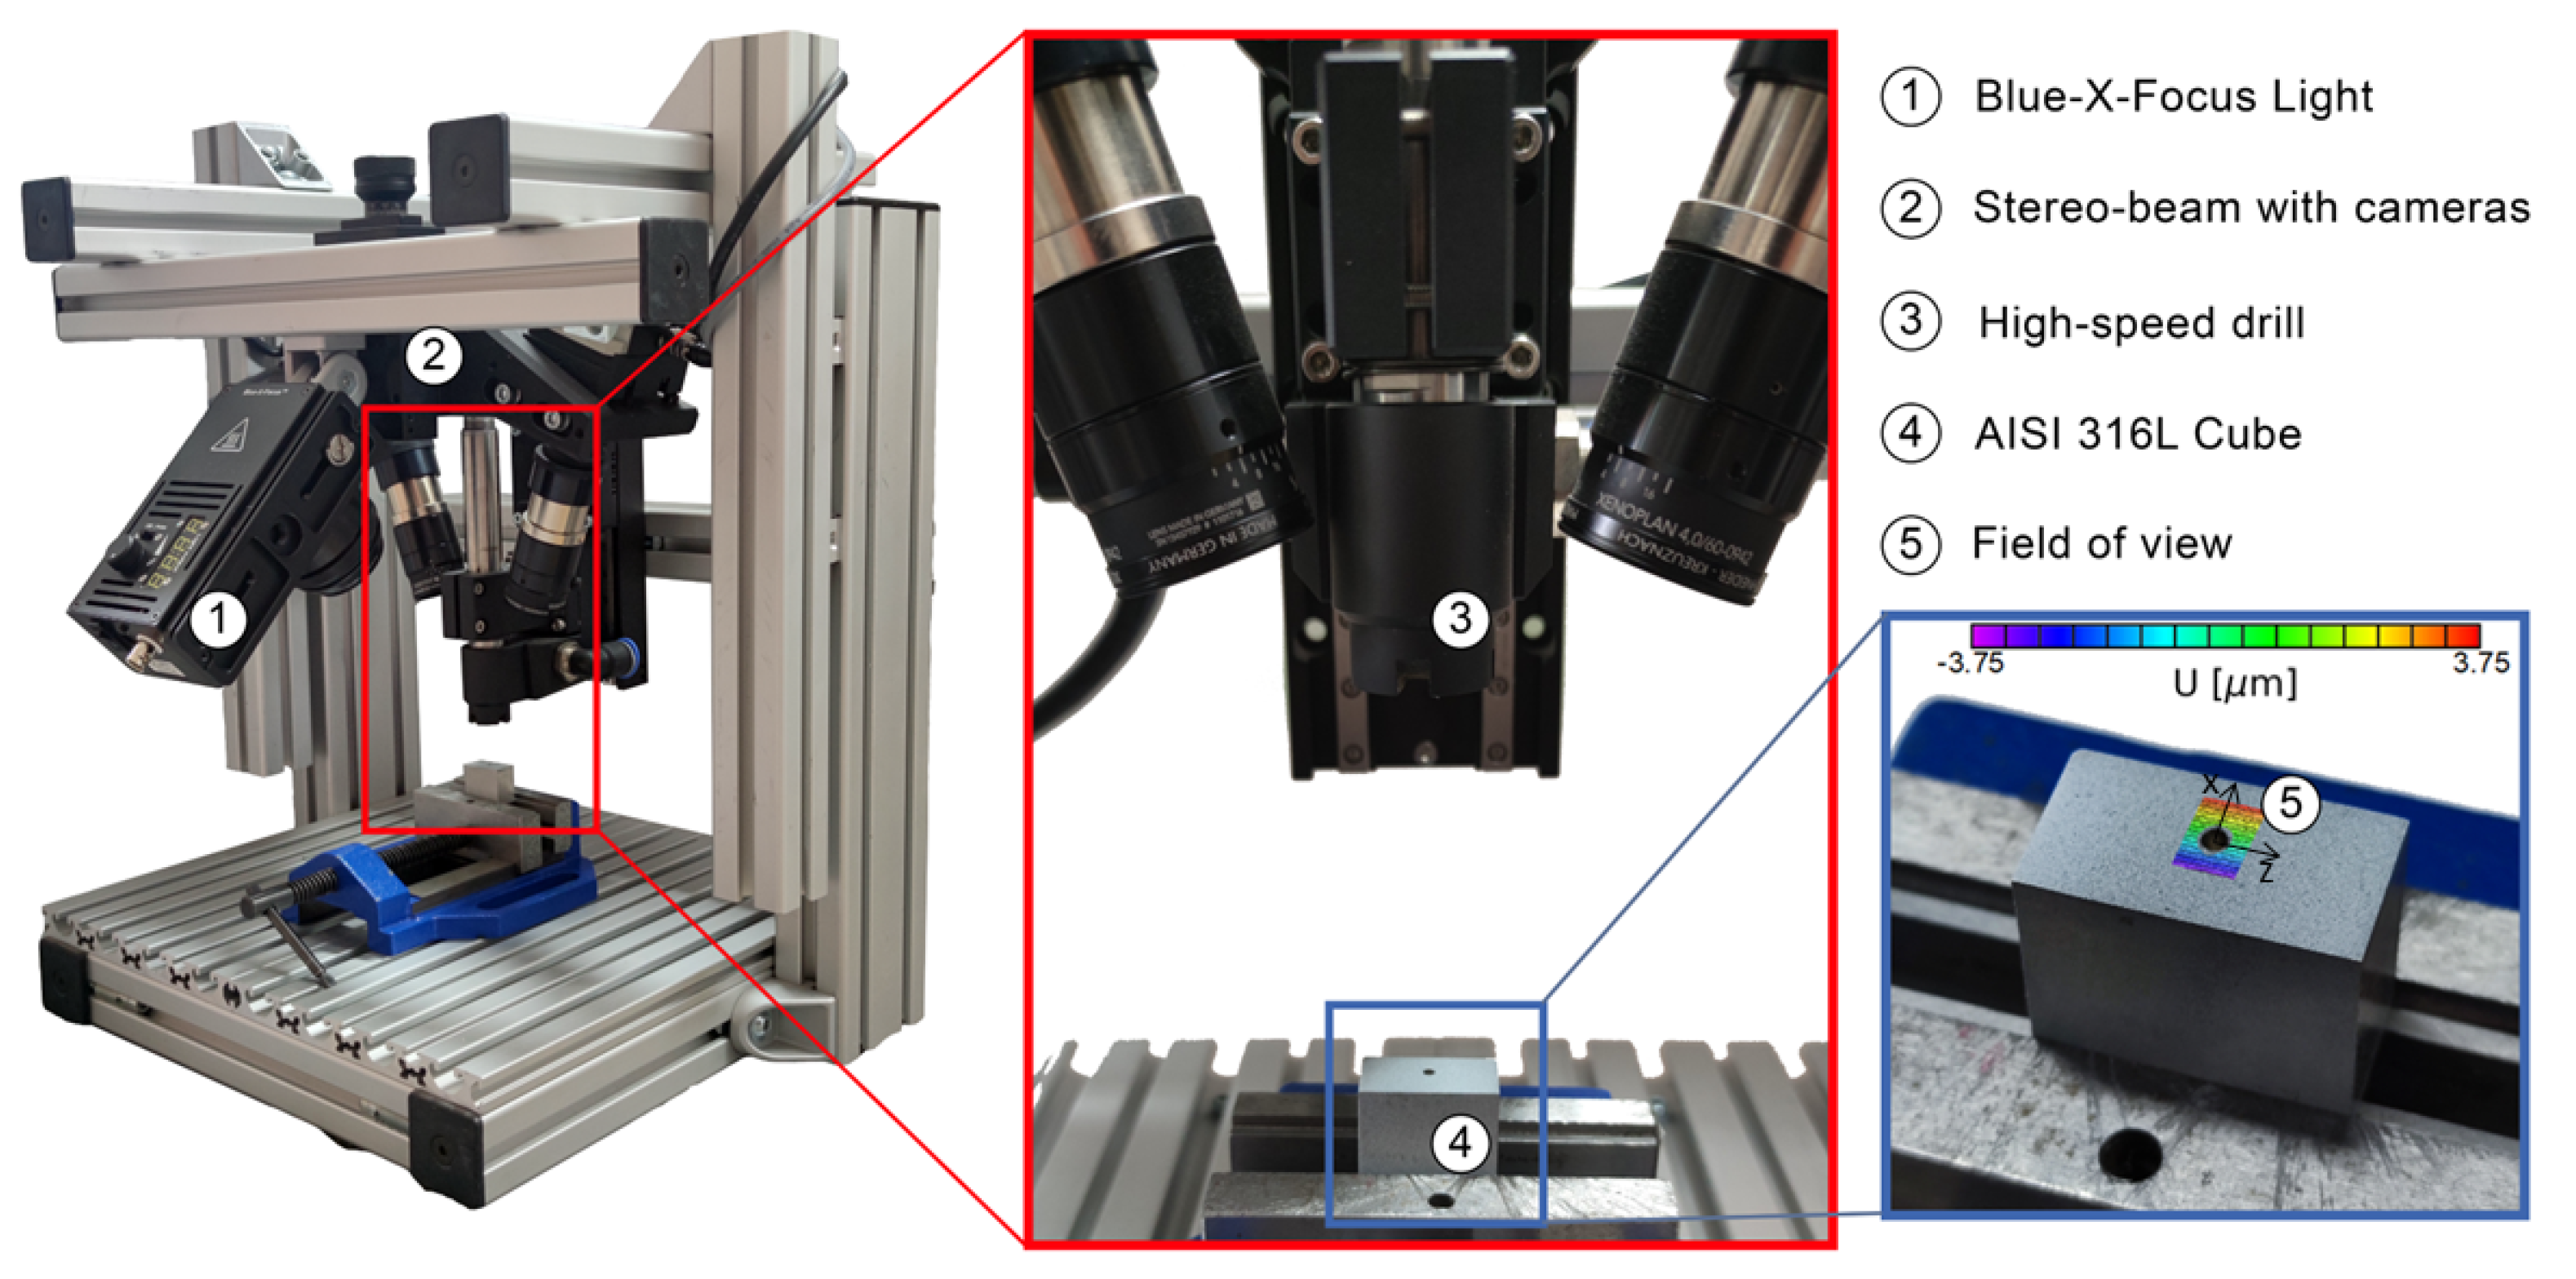
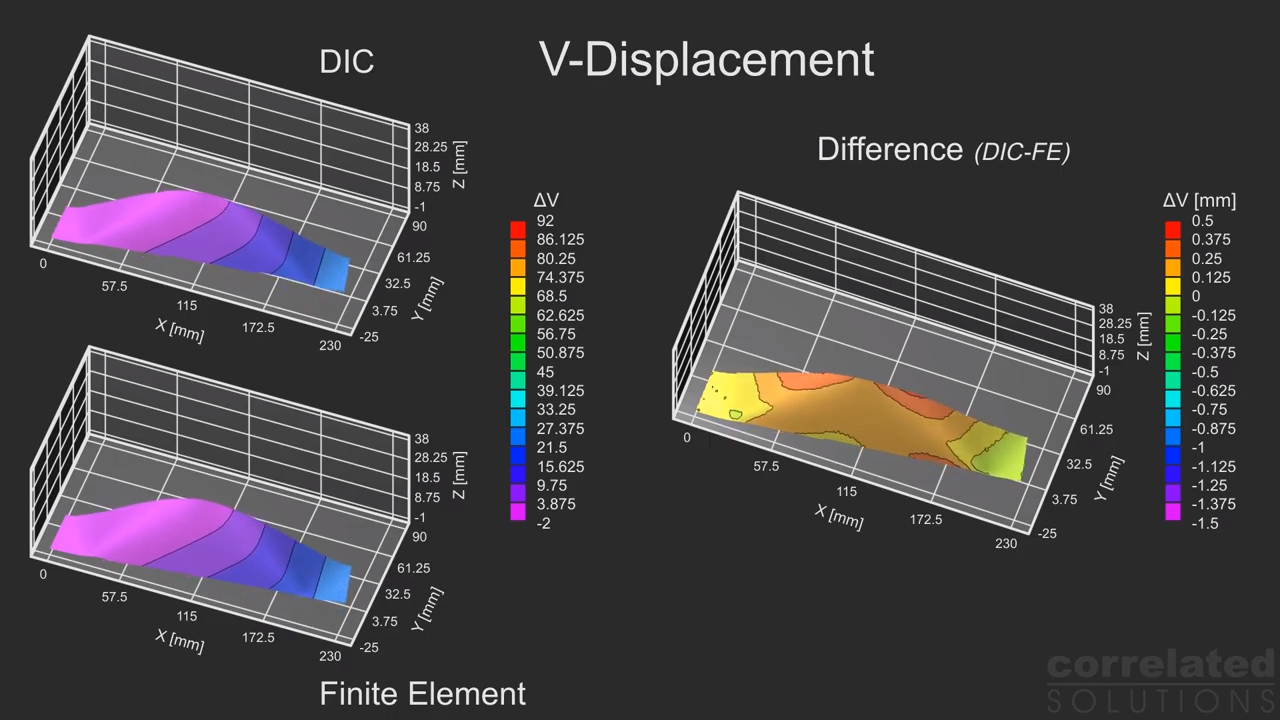
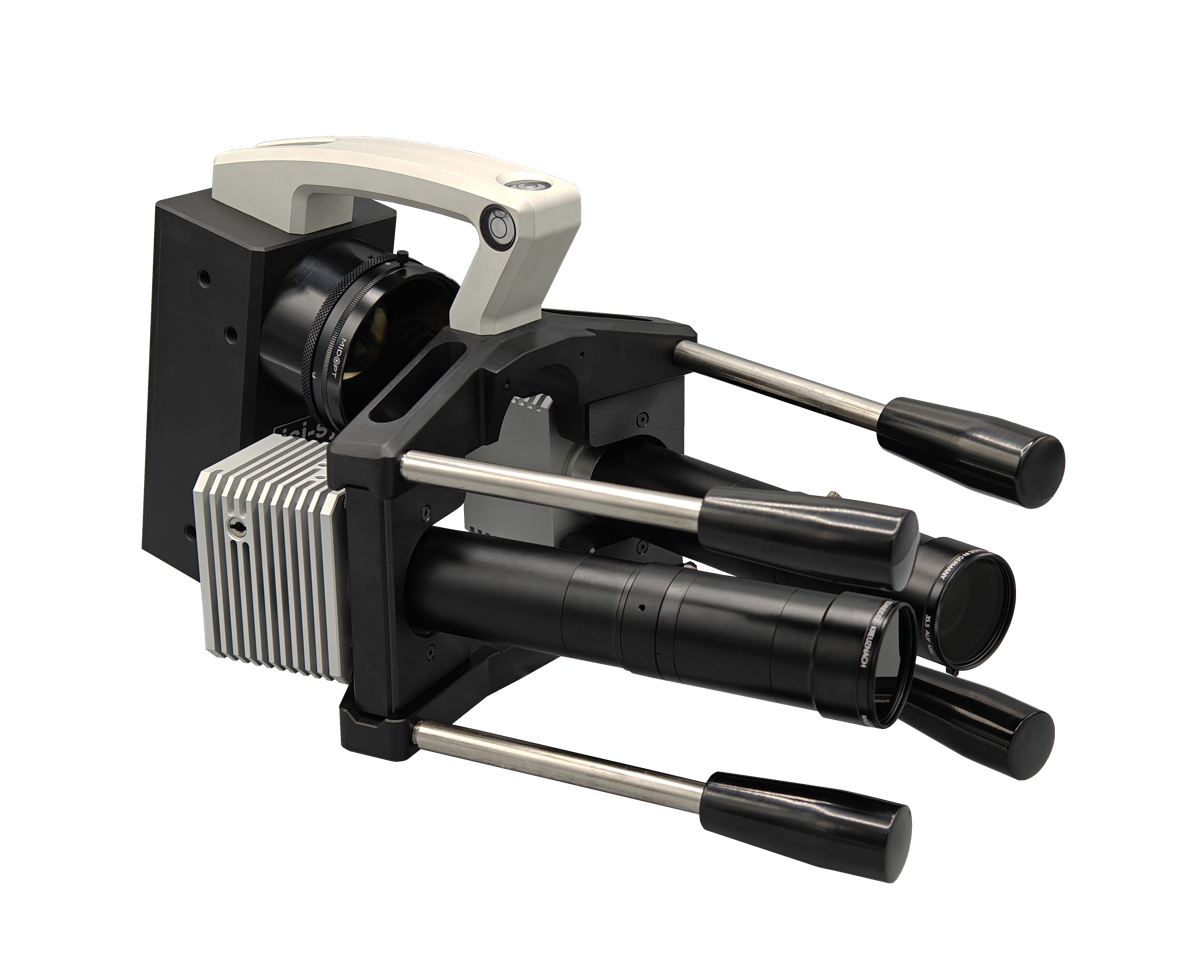
The images below show the deformations (U, V, W) of the carbon fibre composite at 1mm drilling depth corresponding to the strain measurement above. The examples show the measured deformation and strain close to the drilled hole with high spatial resolution, even at very small diameters (2.3mm down to 0.8mm). This is possible as the stereo sensor set-up is designed for a FOV of about 8.4mm x 7mm @ 5Mpx. This is hardly resolvable using the strain gauge principle. The residual strain analysis system is equipped with a special drill, operating with around 100.000 to 300.000 RPM. The special version of the 3D Micro DIC sensor allows to drill and measure without repositioning of the drill or the sensor.
ReSA — the new Residual Strain/Stress Analysis solution

ReSA system advantages against strain gauge based methods
| Strain gauge and hole drilling method | ReSA system based on 3D-Micro-DIC |
| Measurement errors: | |
| - Errors due to misalignment of the drilled hole against the centre of the strain gauge rosette | + No requirement on the exact drilling hole position relative to the sensor, no corresponding errors |
| - Fibre matrix direction and strain gauge alignment required or relative direction need be known | + No adjustment between sensor and the material matrix directions is required or needs to be know |
| - Errors due to individual strain gauge application | + Repeatable preparation of the area of interest |
| Technical consideration: | |
| - Single point measurement of strain, averaging across the effective strain gauge area | + Full field strain and deformation measurement, high spatial resolution close to the hole |
| - Results depending on the applied evaluation model | + Reliable post-processing with Vic-3DTM |
| - Single point values of residual stresses only – so not representative for inhomogeneous material | + Full field residual stress data suitable for inhomogeneous materials |
| Economical aspects: | |
| - High cost per measurement due to strain gauge | + Low operation cost per measurement |
| - Preparation time for applying the strain gauge | + Fast and simple preparation of object surface |


